The Secret To Making Thick Cookies

For The Love Of Cookies

There’s something truly magical about sinking your teeth into a thick, chewy cookie with a soft center and slightly crispy edges. If you’ve ever wondered how to achieve that perfect cookie texture, let me help you. In this short blog entry, we’ll explore my 6 tips for making thick and indulgent cookies that will make you popular with your friends and family.

1. a good recipe always starts with the ingredients

The foundation of any great thick cookie begins with high-quality ingredients. Opt for a high-fat butter, such as unsalted butter, and use brown sugar instead of granulated sugar. Brown sugar contains molasses, which adds moisture and contributes to the chewiness of the cookie.

2. flour power

The type of flour you use can significantly impact your cookie’s thickness. For thick and chewy cookies, try choosing all-purpose flour over cake flour. All-purpose flour has a higher protein content, resulting in a sturdier structure and chewier texture. Be sure not to overmix the dough to avoid activating too much gluten, which could lead to a tougher cookie.

3. the magic of Cornstarch

A secret weapon for achieving thickness in your cookies is cornstarch. Adding just a tablespoon or two to your dry ingredients helps create a softer, more tender texture. Cornstarch inhibits gluten development, ensuring that your cookies remain thick and chewy.

4. let’s keep it chill

One of the most crucial steps in making thick cookies is chilling the dough. After mixing your ingredients, refrigerate the dough for at least 1-2 hours, or even overnight. Chilled dough spreads less during baking, resulting in thicker cookies. This step also enhances the flavors as the ingredients meld together.

5. All in the wrist

Use a cookie scoop to ensure that each cookie is the same size and shape. This helps with even baking, ensuring that all cookies cook at the same rate. Additionally, shaping the dough into taller mounds rather than flatter disks promotes thickness.

6. Time flies

To achieve that perfect balance of a crispy exterior and a soft interior, it’s essential to monitor your cookies closely during baking. Start with a slightly higher oven temperature (around 375°F or 190°C) and bake for a shorter time. This will help set the edges while leaving the center deliciously gooey.

that’s it, folks

With the right ingredients, techniques, and a bit of patience, you too can master the art of making thick and chewy cookies. Whether you’re a seasoned baker or just starting, these tips will elevate your cookie game, ensuring that every batch is a delightful treat for your taste buds. So, preheat that oven, gather your ingredients, and get ready to enjoy the thickest, most indulgent cookies you’ve ever made!


“Practice does not make perfect. Only perfect practice makes perfect.”

Vince Lombardi

Join The Cookie Club

This field is for validation purposes and should be left unchanged.

Demystifying the Art of Ingredient and Nutritional Panels: A Beginners Introduction

In the world of food products, transparency is paramount. Providing consumers with accurate and comprehensive information about the ingredients and nutritional content of your product is not only good practice but is often a legal requirement. The first time you think do this will be extremely daunting! But after a bit of practice and professional guidance, you will get the hang of it!

In this blog post, we will unravel the intricacies of writing an ingredient and nutritional panel that is both informative and compliant. This serves to be a beginner’s introduction and all you need to draft your first version, but for a comprehensive guide, I highly recommend you find a local food safety officer to check your work.

Understand Regulatory Requirements:

Before diving into the details, familiarize yourself with the labeling regulations relevant to your product. Different countries have specific guidelines, and compliance ensures both consumer trust and legal adherence. For example, https://www.foodstandards.gov.au/ is the governing body for Australia. These websites will have everything you need to know in great detail.

Start with Ingredients:

List all ingredients in descending order by weight. Be specific and use common names. If your product contains sub-ingredients (such as seasoning blends), break them down to provide clarity. This transparency builds trust with consumers who may have dietary restrictions or specific preferences.

Include Allergen Information:

Highlight any allergens present in your product. Use bold or capital letters to draw attention to common allergens like nuts, dairy, or gluten. This step is crucial for consumers with allergies or dietary restrictions.

Nutritional Information Layout:

Present the nutritional panel in a tabular format, with serving size and servings per container prominently displayed. Include key nutrients such as calories, total fat, saturated fat, cholesterol, sodium, total carbohydrates, dietary fiber, sugars, and protein. A glance at similar products sold in your country will provide examples that you can use as a guideline.

Be Mindful of Serving Sizes:

Define a realistic and standard serving size. Ensure it reflects the amount consumers typically consume in one sitting. This allows for accurate nutritional comparisons between products.

Calculate Percent Daily Values (%DV):

Include the percentage of daily values for each nutrient based on a standard calorie diet determined by your country’s local authority. This helps consumers understand how a particular product fits into their overall daily nutritional intake.

Declare Vitamins and Minerals:

If your product contains significant amounts of vitamins or minerals, include them in the nutritional panel. Be sure to check your country’s guidelines regarding vitamin or mineral declaration.

Include Additional Information:

Consider adding any additional beneficial components, such as the presence of probiotics, omega-3 fatty acids, or other health-promoting ingredients. This can be a valuable selling point for health-conscious consumers. Be careful to not falsely claim ingredients, look closely into your country’s local guidelines to ensure your claims can be accurately tested and verified.

Seek Professional Guidance:

If the intricacies of labeling regulations and nutritional calculations are daunting, so consider consulting with a food scientist or regulatory expert to help check your work. They can provide invaluable guidance to ensure compliance and accuracy in your labeling.

Get started!

Crafting a clear and compliant ingredient and nutritional panel is an essential aspect of food product labeling. By prioritizing transparency, accuracy, and adherence to regulations, you not only meet legal requirements but also build trust with consumers. Empowered with this knowledge, you can confidently present your product to the market, knowing that your labeling reflects your commitment to providing valuable and truthful information to consumers.

Mastering the Art of Tradeshows: Food For Thought

Showing Off

Stepping onto the tradeshow floor is like entering a bustling marketplace of opportunities. Whether you’re a seasoned exhibitor or a first-timer, meticulous preparation is the key to making the most of your tradeshow experience. In this blog entry, we’ll delve into some essential steps and strategic considerations to ensure you are well-prepared and ready to shine at your next tradeshow.

Define Your Objectives:

Begin by clearly outlining your goals for the tradeshow. Are you aiming to generate leads, increase brand awareness, or showcase a new product? What type of customer are you hoping to meet? Defining your objectives well in advance will guide every decision you make during the preparation process.

Booth Design and Layout:

Your booth is your stage, and its design plays a pivotal role in attracting visitors. Create an eye-catching display that aligns with your brand and appeals to those you want to attract. Know whether you are aiming for large corporates or small businesses and choose the vibe accordingly. Consider factors like lighting, signage, and interactive elements all matter. Ensure that the layout facilitates easy navigation and welcomes encouraging interaction with your customers.

Branding Materials:

Arm yourself with compelling marketing materials that tell your brand story. Business cards, brochures, and promotional items should be visually appealing and professionally printed. Include a clear call-to-action to guide potential clients on the next steps and consider doing a ‘tradeshow special’ discount that gets you a sale on the spot.

Digital Presence:

Leverage digital platforms to create pre-event buzz. Utilize social media, newsletters, and your website to announce your participation, tease exciting offerings, and invite attendees to visit your booth. And of course, make sure your digital footprint is up to scratch so your prospecting customers know you mean business and can be trusted to work with.

Engagement Activities:

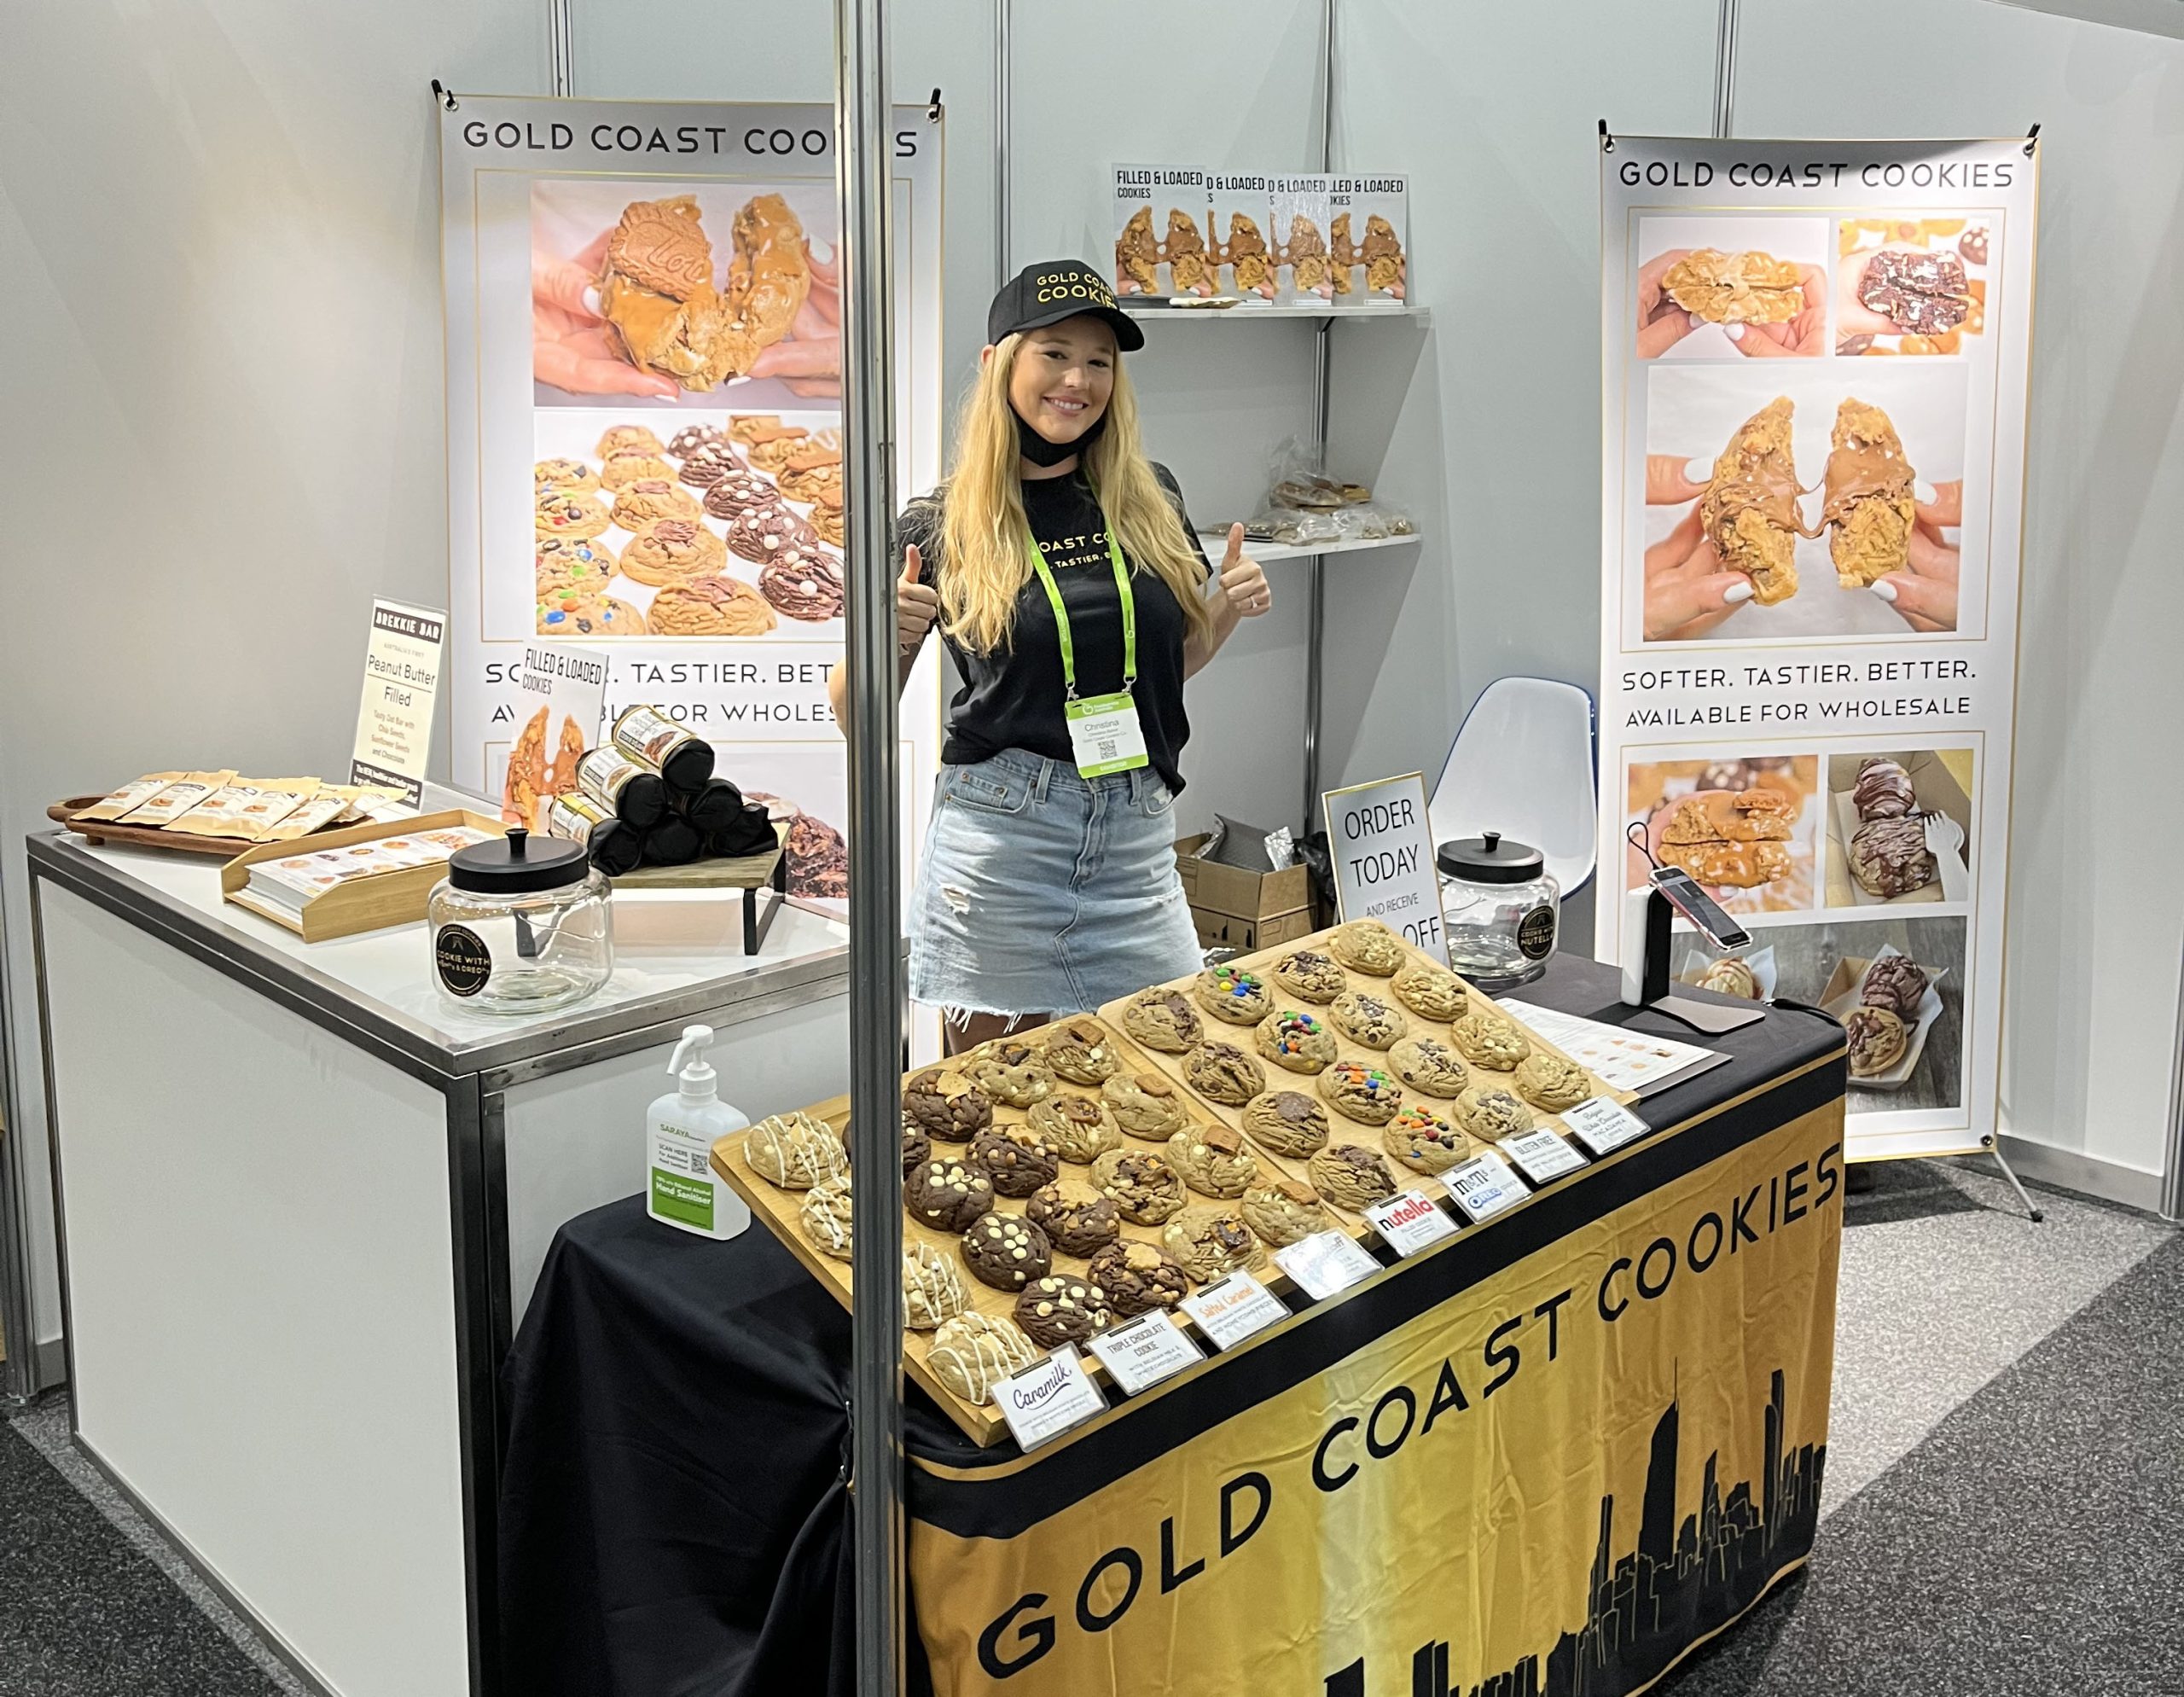
Have a bit of fun! Plan interactive activities or demonstrations to captivate the audience. Whether it’s product samples, live presentations, or interactive displays, giving attendees a hands-on experience can significantly enhance their connection with your brand. Standing out from the other exhibitors goes a long way, people going to tradeshows are usually there to find new exciting products and have a bit of fun. So give them a show to remember!

Networking Strategy:

Approach the tradeshow as a networking opportunity. Research other exhibitors, industry influencers, and potential clients. Make sure you are ready to take and give details in whatever medium you decide is best. Get a good sleep and be prepared to bring your A-game, tradeshows can last for days and be intense but the contacts you get can often transform a business!

Logistics and Essentials:

Attend to logistical details well in advance. Ensure you have all necessary permits, booth supplies, and backup essentials. Create a checklist covering everything from power sources and internet connectivity to booth decorations and promotional giveaways. The tradeshow organisers often have preferred hire companies with all your potential needs, so make sure you have it all coordinated in advance.

Follow-Up Plan:

Tradeshows are all about the follow-up. Don’t let the momentum fade after the tradeshow ends. Develop a robust follow-up plan to capitalize on the connections made. Send personalized thank-you emails, share additional resources, and nurture leads promptly to maximize the impact of your tradeshow participation.

A Bit Of Preparation & Lots Of Good Luck!

Preparing for a tradeshow is a dynamic process that demands thoughtful planning and strategic execution. By focusing on clear objectives, impactful booth design, and proactive engagement, you’ll position your brand for success in the vibrant and competitive tradeshow landscape. I hope these tips help you step confidently onto the tradeshow floor, ready to make lasting impressions and forge meaningful connections for your business.

Choosing The Perfect Chocolate For Your Cookies

Unlock The Power of Chocolate

When it comes to baking cookies, the choice of chocolate can make all the difference between a good batch and an extraordinary one. The diverse world of chocolate offers a myriad of options, each contributing its unique flavor and texture to your sweet creations. In this blog post, we’ll dive into the delightful realm of chocolate and explore the types that can elevate your cookie game to new heights.

Classic Milk Chocolate:

The tried-and-true classic, milk chocolate, is a beloved choice for many cookie enthusiasts. Its creamy and sweet profile adds a comforting touch to cookies, creating a perfect balance that appeals to both kids and adults alike. Consider using milk chocolate chips or chunks for a mild but classic-tasting cookie.

Rich and Decadent Dark Chocolate:

For those who crave a more intense chocolatey experience, dark chocolate is the way to go. With a higher cocoa content, dark chocolate imparts a deep, robust flavor to your cookies. Choose dark chocolate chips for a sophisticated and slightly bitter undertone. You will notice the cookie will be softer due to the lower melting point.

White Chocolate Elegance:

While technically not true chocolate (as it doesn’t contain cocoa solids), white chocolate adds a luxurious and sweet element to cookies. Its rich, creamy texture and vanilla undertones make it a delightful inclusion, especially when paired with ingredients like macadamia nuts for a heavenly combination. It is a great chocolate to use in complex flavours due to it’s mild, crowd-pleasing and non-overpowering flavour.

Bittersweet Chocolate:

Falling between dark and semisweet, bittersweet chocolate strikes a perfect balance of sweetness and intensity. It contains a higher cocoa content than semisweet, making it an excellent choice for those who want a chocolate-forward flavor without the full bitterness of dark chocolate.

Semisweet Chocolate Chips:

Perhaps the most versatile option, semisweet chocolate chips are a baking staple. With a moderate cocoa content, they bring a balanced sweetness to your cookies. Their small size also ensures a consistent distribution of chocolate throughout the dough, resulting in a classic American style cookie.

Infused Chocolate:

Elevate your cookies by using chocolate that features caramel, nutty, fruity or toffee flavours. Several ingredient manufacturers around the world offer a variety of chocolate flavours. Barry Callebaut chocolate is a classic example of these.

Auto Width 3

Taste Test

The world of chocolate is vast and delicious, offering endless possibilities for creating cookies that cater to every palate. Whether you opt for the familiar comfort of milk chocolate or venture into the bold territory of dark or infused chocolate, experimenting with different types can turn your cookie-baking experience into a flavorful adventure.

So, choose your chocolate wisely and let your creativity run wild as you embark on the journey of crafting your perfect cookies!